This is an old revision of the document!
Table of Contents
How to Enter Your Recipients
In every campaign you need to configure the target email addresses, USB devices or phone numbers (users) under Admin/Recipients.
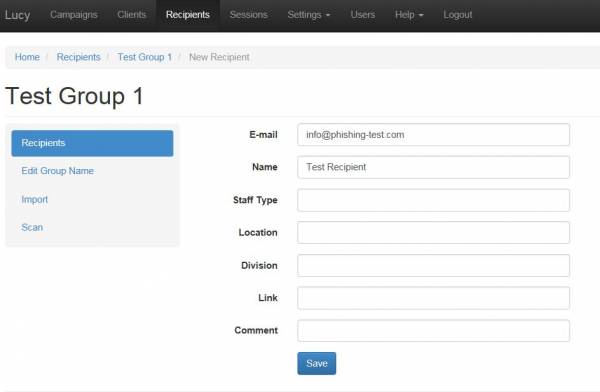
You can either add them manually (1), import them (2) or search the internet by using the "SCAN FEATURE" (3). The groups are always defined globally and you can re-use them among different campaigns.
We recommend importing them because it will enable you to create a custom text file with additional information about each target user (e.g. defining the division or location where they work). This information can later be used for automatic analysis and statistics. The more information you provide, the better.
Note: Searching the internet without a Bing or Google API won't get you the same results as if you searched directly with a search engine. This feature is still in beta release.
Import Recipients
You can import the recipients via file or via LDAP.
SYNTAX: The import file should contain one recipient per line. Each record should consist of 1 to 7 columns separated by the colon symbol (:). All columns, except for the first one, are optional. If you want to skip the column value, just don't type anything between columns separators (:). You can skip the columns at the end of the record - for example, if you have only Email and Name, you can just specify these 2 columns. The email address is mandatory for the Recipient list. All other fields (like Name) are compulsory. If you want to send a personalized email (using the %name% variable within the email or landing page) you need to define the Name field too. The possible columns are:
- 1.Email - Recipient's e-mail address
- 2.Name - Recipient's name
- 3.Staff - Job position or related
- 4.Location - Recipient's location
- 5.Division - Company division
- 6.Comment - Any custom comment
- 7.Link - Unique link part for the Landing Page. Only use this if access to the internet by clicking on a link in an email is not possible (e.g. if you use some terminal client or a separate browser to access the internet). More information about this can be found here.
- 8.Phone - recipient phone number
- 9.Language - recipient language
Note about language: if you upload a recipient group file (txt or CSV) and want to specify the language you need to use the English description (example "spanish").
FILE FORMAT: You can import a plain text file (.txt) or -csv format and name it whatever you want.
EXAMPLE: Your CSV or TXT file should look something like this:
john@example.com:John Doe:senior consultant:new york:accounting marcus@aurelius.com:Marcus Aurelius peter@example sarah@example:Sarah::boston
Adding recipients to a running campaign
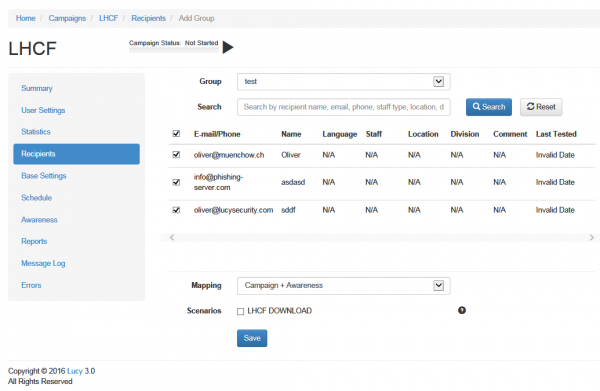
In LUCY you can add recipients to a running campaign. Please click here to read more.
Language considerations
LUCY is able to deal with multiple languages within the same recipient group. It is not necessary to define different groups for each language. Please consult this section for more information.
Identify recipients that have been already tested
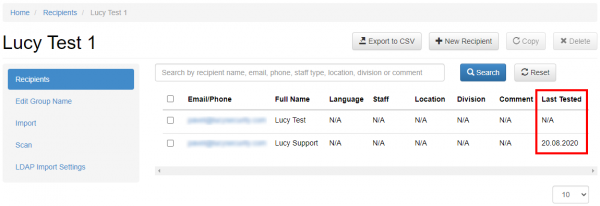
LUCY > 3.0 allows you to identify recipients that have been previously tested. If you click on the recipient group details you will notice that there is a column called "already tested" which shows you the last date this user has been tested.
Filter Recipients (LUCY > 3.0)
After importing your mail recipients you will see a search field that allows you to search & filter specific emails in your list:
Copy Recipients (LUCY > 3.2)
LUCY allows you to copy one or multiple recipients from one group to another group (new or existing).


